Concept Cards

Dan McCreary Version 1.1 – last updated September, 2021
What are Concept Cards?
Concept Cards are teaching tools that are popular in informal hands-on settings such as CoderDojo classrooms. Concept cards follow the "one concept per card" rule. Each card attempts to illustrate one-and-only-one concept using a simple example. Within the CoderDojo mentoring system, Concept Cards also called "Sushi Cards" in the CoderDojo mentoring system, representing a single bite of knowledge. Concepts are communicated in easy-to-digest, bite-sized chunks (hence Sushi).
Concept Cards are a way of taking complex topics and decomposing the topics into simple examples that can be used to illustrate the principals needed to master the topic.
Concept Cards can be used in multiple teaching styles includeing goal-directed learning, fixed hierarchy learning and ad-hoc rhizomatic network learning.
When Should Concept Cards be Used?
Concept Cards are ideal for situations where students may not have one-on-one time with a teacher or mentor. Concept Card facilitate self-guided instruction without having to pick up a 300-page book where you must to start on page one and learn the material sequentially. We like to think of them as "Agile Teaching" tools where there are multiple entry points into learning and multiple possible outcomes.
We like to use a library of Concept Cards when the requirements of your classrooms may be constantly changing. If designed correctly, concepts cards allow you to remix concepts to adapt to different students, projects and educational events.
Design Goals
Breaking complex topics down into many small concepts is a universal strategy in designing any curriculum. We often call this process decomposition. Having a good set of concepts can promote building flexible data structures that are used in learning management systems. Sometimes designing a graph of interrelated concepts is a first step in building these systems. Once we have a list of concepts with their dependencies we can then focus on designing the content to teach these concepts.
We now suggest some guidelines for the creation of concept cards for CoderDojo classrooms.
Guideline 1: One Card, One Concept
Each Concept Card should teach one important concept. What is an important concept? That's the tricky bit! And that's for the Card designer to decide. There is no scientific way of defining this. Sometimes a Concept can be associated with a specific physical demonstration or "lab", like What is a Raspberry Pi Pico microcontroller? Sometimes they are associated with a program, like the UNIX shell command, and sometimes Concept Cards are associated with a programming concept like a "conditional" statement or a "for loop".
Ideally, Concept Cards should be related to a piece of hardware, a program, a function or a small sample of code that illustrates the principle as simply and clearly as possible. Don't be tempted to add in 'side' lessons that show something else. Instead, make these into separate cards. Side concepts may be interesting to you, but you must resist the temptation to deviate from the concept. Let your students take simple samples, master them and allow them to be the integrators of the concepts to produce working programs.
Types of Concept Cards
Although we try to avoid strict hierarchial curriculum in our CoderDojo classrooms, we still must take into account that not all Concept Cards are the same. Some cards depend on other cards. Grouping cards into difficulty categories is a way to guide students without forcing structure.
Concept cards are often divided into multiple difficulty levels like the following:
- Beginning - where a concept does not depend on any other concepts in your curriculum
- Intermediate - where a concept might depend on one or more Beginning concept
- Advanced - where a concept depends on one or more intermediate concepts
Designing Colorful Laminated Concept Cards
Like many communication tools, designing concept cards reflect that the medium is the message. How we print and display Concept Cards makes a big difference in their effectiveness.
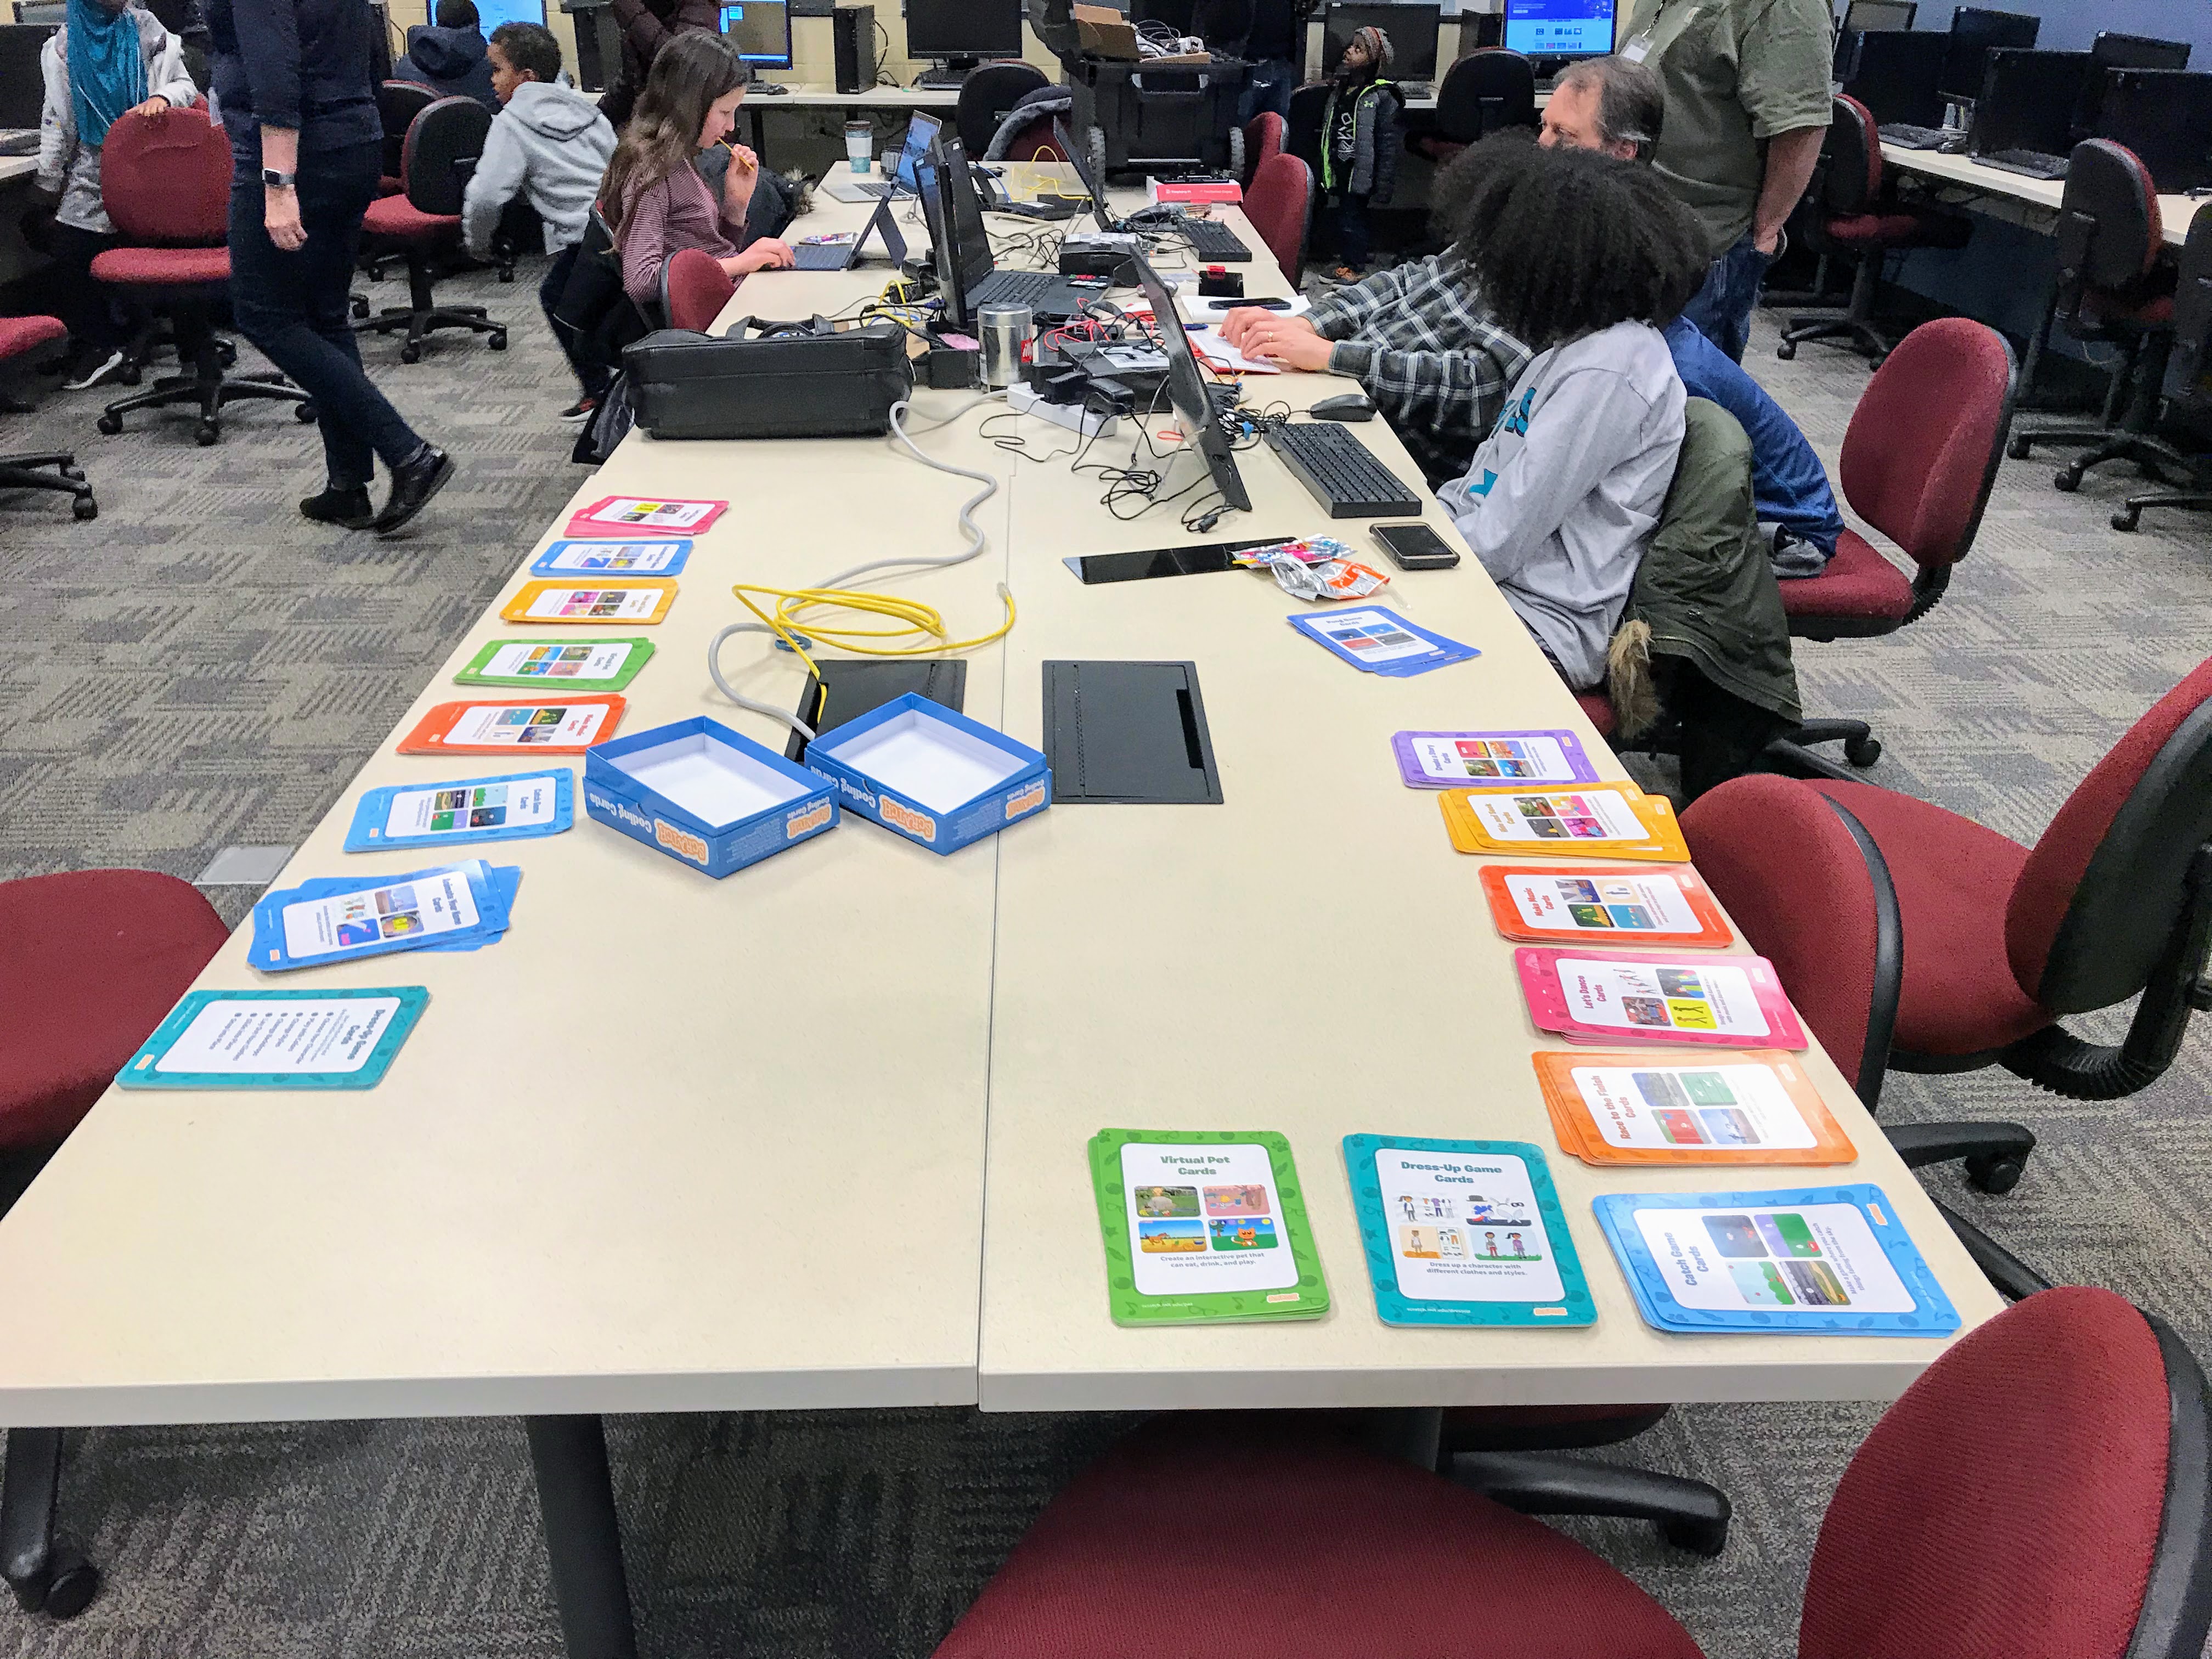
Imagine a new CoderDojo student walking into a classroom. Computer are often spread around the edges and back of the classroom. But near the entrance to the classroom is a table covered with small 5X10 inch laminated cards. The cards each have a colorful border indicating their difficulty, and every card has an image that can quickly be recognized by returning students.
We often use two-sided laminated cards that are easy to hold in one hand and easy to view by the side of a computer. The structure of the cards is important because they don't look intimidating. They are not walls of text and they don't look like a college textbook.

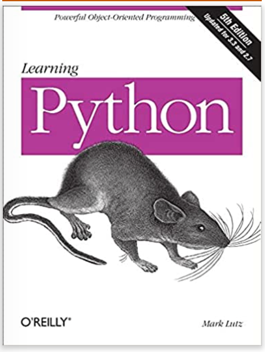
In contrast, the book Learning Python by Mark Lutz is a 1,600-page book that had detailed discussions areas of Python that many programmers may never need. The chapter on the "if" statement does not even start until page 383!
We want Concept Cards to look a bit like a stack of colorful playing cards, not a 1,600 page college computer science textbook. Learners can move at their own pace and there is never the suggestion that only those patient enough to read a 1,600 page textbook are allowed to participate. You can easily place the card next to a piece of hardware or laptop.
For instance, if they’re learning UNIX, they’ll probably have three or four windows open – so having another open to show the class notes is contributing to serious window management problems.
Lamination
Plastic lamination will save you time and money. Laminators cost around $50. The individual laminating pouches are less than 10 cents each. Once you’ve produced your laminated sheet it will last for many weeks of CoderDojo sessions, in contrast to paper handouts which are usually discarded after one or two CoderDojo sessions.
Test, test, test
(practice-led, not theory-led) Because every audience is different, you can't really predict if cards will work for any audience. The approach is practice-led rather than theory-led so that learners see results as fast as possible. We think this mirrors the way most programmers learn anyway. (First, take some existing code and hack it, read up the theory only if you can’t figure out what’s going on …)
Keep examples short and sweet
Any example code should be as short as possible (to minimize mistyping) and should be as easy to understand as possible – make examples as concrete as you can. Using self-descriptive variable and parameter names is helpful (good programming anyway).
Don’t feel you have to explain everything
Don't feel you have to explain everything – it's often better to show some self-descriptive code and then ask the learner the question 'can you figure out what this is doing?' or 'how would you change this to do X'. You’re pointing learners in the right direction, but you're not watching over them for the whole journey. Also … improvisation should be encouraged. Learning examples should be presented in such a way that the learner can riff on the examples and quickly produce new materials that showcase their own interests.
Cards should be self-contained
Although the lessons should be built on one another, individual cards should still be fairly self-contained. In the HTML example it's necessary to do the first two or three cards in order, but after the learner has created a basic site card it could be picked up in any order. (Although to make this work, you may need to revisit earlier cards after you add in a later card).
Pictures are Good
Having the materials look inviting is important. The best practice is to have a friendly, not-too-complex, yet colorful picture at the top of each card just below the concept name. We try to show an end-result that looks exciting and makes learners want to dive in. Try to avoid having English in your pictures due to hassle made when translating to other languages.
The cards will never be perfect – don’t worry!
Whenever you work with learners and use the cards, you’ll quickly come across all sorts of errors, imperfections and barriers to comprehension. But don’t worry about it. It’s normal. Just go home and modify them. Each change you make will make the cards easier to use.
Sample Concept Card Structure
Front Material
Difficulty
The outer border of the card should show the difficulty level using a bright color. We use green for beginning concepts, blue for intermediate concepts and black for advanced concepts. Also use text because some students may be color blind.
Concept Name
Try to use a short kid-friendly name and avoid technical jargon if possible
Concept Picture
A small image or icon that students will remember if they have seen it before. Imagine students all arriving in a room and quickly discarding cards they have already done but putting their focus on new concept cards.
Activity Challenge
A short list of activities that the students might try. Give them hints at the very bottom of the card if they are hard challenges.
Back Material
** Activity Answers - A short list answer to the challenges on the front of the card ** ** Explorations** - More ways to learn more about a concept or related Concepts
Concept Card Design Tips
Use colors and paragraphs to prevent a "wall of text" that will turn students away. Put in a colorful icon in the text or use bold/italic or colors to highlight words. Use icons, graphics, figures, photos, lists or tables to break up text.
Large blocks of text can be intimidating to readers and tough to read for all. Look at the examples for reference for a good sushi card in terms of text readability.
Visit http://dojo.soy/style for guidelines to aim for.
- You can remind them to ask for a mentor if installing something is too hard
- Add important Terms in colored boxes
- Historic tips are welcome, fun facts too
- Bold terms like copy, paste, click, keyboard buttons etc. (any words that's used a lot and has either been defined or is common computing terms)
- Instructions should work for both PC and Mac
- Appropriately colored boxes break the wall of texts and make the text less daunting. There should be at least one yellow box or screenshot on each page. Use this to explain key concepts in simple language.
- Always try to end the back of a card with play around with other challenges. i.e. making music with a Raspberry Pi, a game in Python, a webpage in HTML/CSS. Encourage them to tweak and explore what they've done.
- Needless to say, a child will not understand a lot of big words. Use basic language and don't make a comparison to something they wouldn't understand like a bank or job
- Test your card by watching kids pick them up and try them. Don't try for perfection on the first pass. Get it out there and iterate, iterate, iterate...
- Get feedback from other mentors and teachers
Sample Concept Form:
Concept Difficulty Level: Beginner, Intermediate or Advanced (use this to change the color of the border)
Concept Name: _____
Concept Picture:
Concept Description:
Optional: Predecessor Concepts
Successor Concepts
Activity Challenge Text:
Concept Answers (often printed on the back of the card)
More to Explore: