ESP32 TTGO
The ESP32 is a low-cost (under $10) microcontroller with both built-in WiFi and Bluetooth. This lab demonstrates using a version of the ESP32 that includes an integrated display.
Step 1: Install the USB to UART Bridge VCP Drivers
Follow the directions here:
https://www.silabs.com/developers/usb-to-uart-bridge-vcp-drivers
Test this by running the ``ls -l /dev/cu*``` and verify you see:
/dev/cu.SLAB_USBtoUART
If you don't see this try to reboot.
Mac: https://docs.espressif.com/projects/esp-idf/en/latest/esp32/get-started/establish-serial-connection.html https://github.com/loboris/MicroPython_ESP32_psRAM_LoBo/raw/master/MicroPython_BUILD/firmware/MicroPython_LoBo_esp32_all.zip
Step 2: Create a Python Conda Environment for ESP32
This is so we don't mess up other Python projects on your system.
1 2 | |
Step #3: Install the esptool
1 2 3 4 5 6 7 | |
Step 4: Erase the Old Firmware
1 | |
Step 5: Download the New Firmware
Get the ESP32_All prebuilt binary:
https://github.com/loboris/MicroPython_ESP32_psRAM_LoBo/wiki/firmwares
Step 6: Reflash the new ESP32 Firmware
1 2 | |
this will run...
1 2 3 4 5 6 7 8 9 10 11 12 13 14 15 | |
Configure Thonny
You must configure Thonny to use the ESP32.
Set the Serial Port
First, you must tell Thonny how to find the right port.
Set the Interpreter
Next, yo must tell Thonny to use the ESP32 interpreter.
Run a test
1 2 3 4 5 6 7 8 9 10 11 12 13 14 15 16 17 18 | |
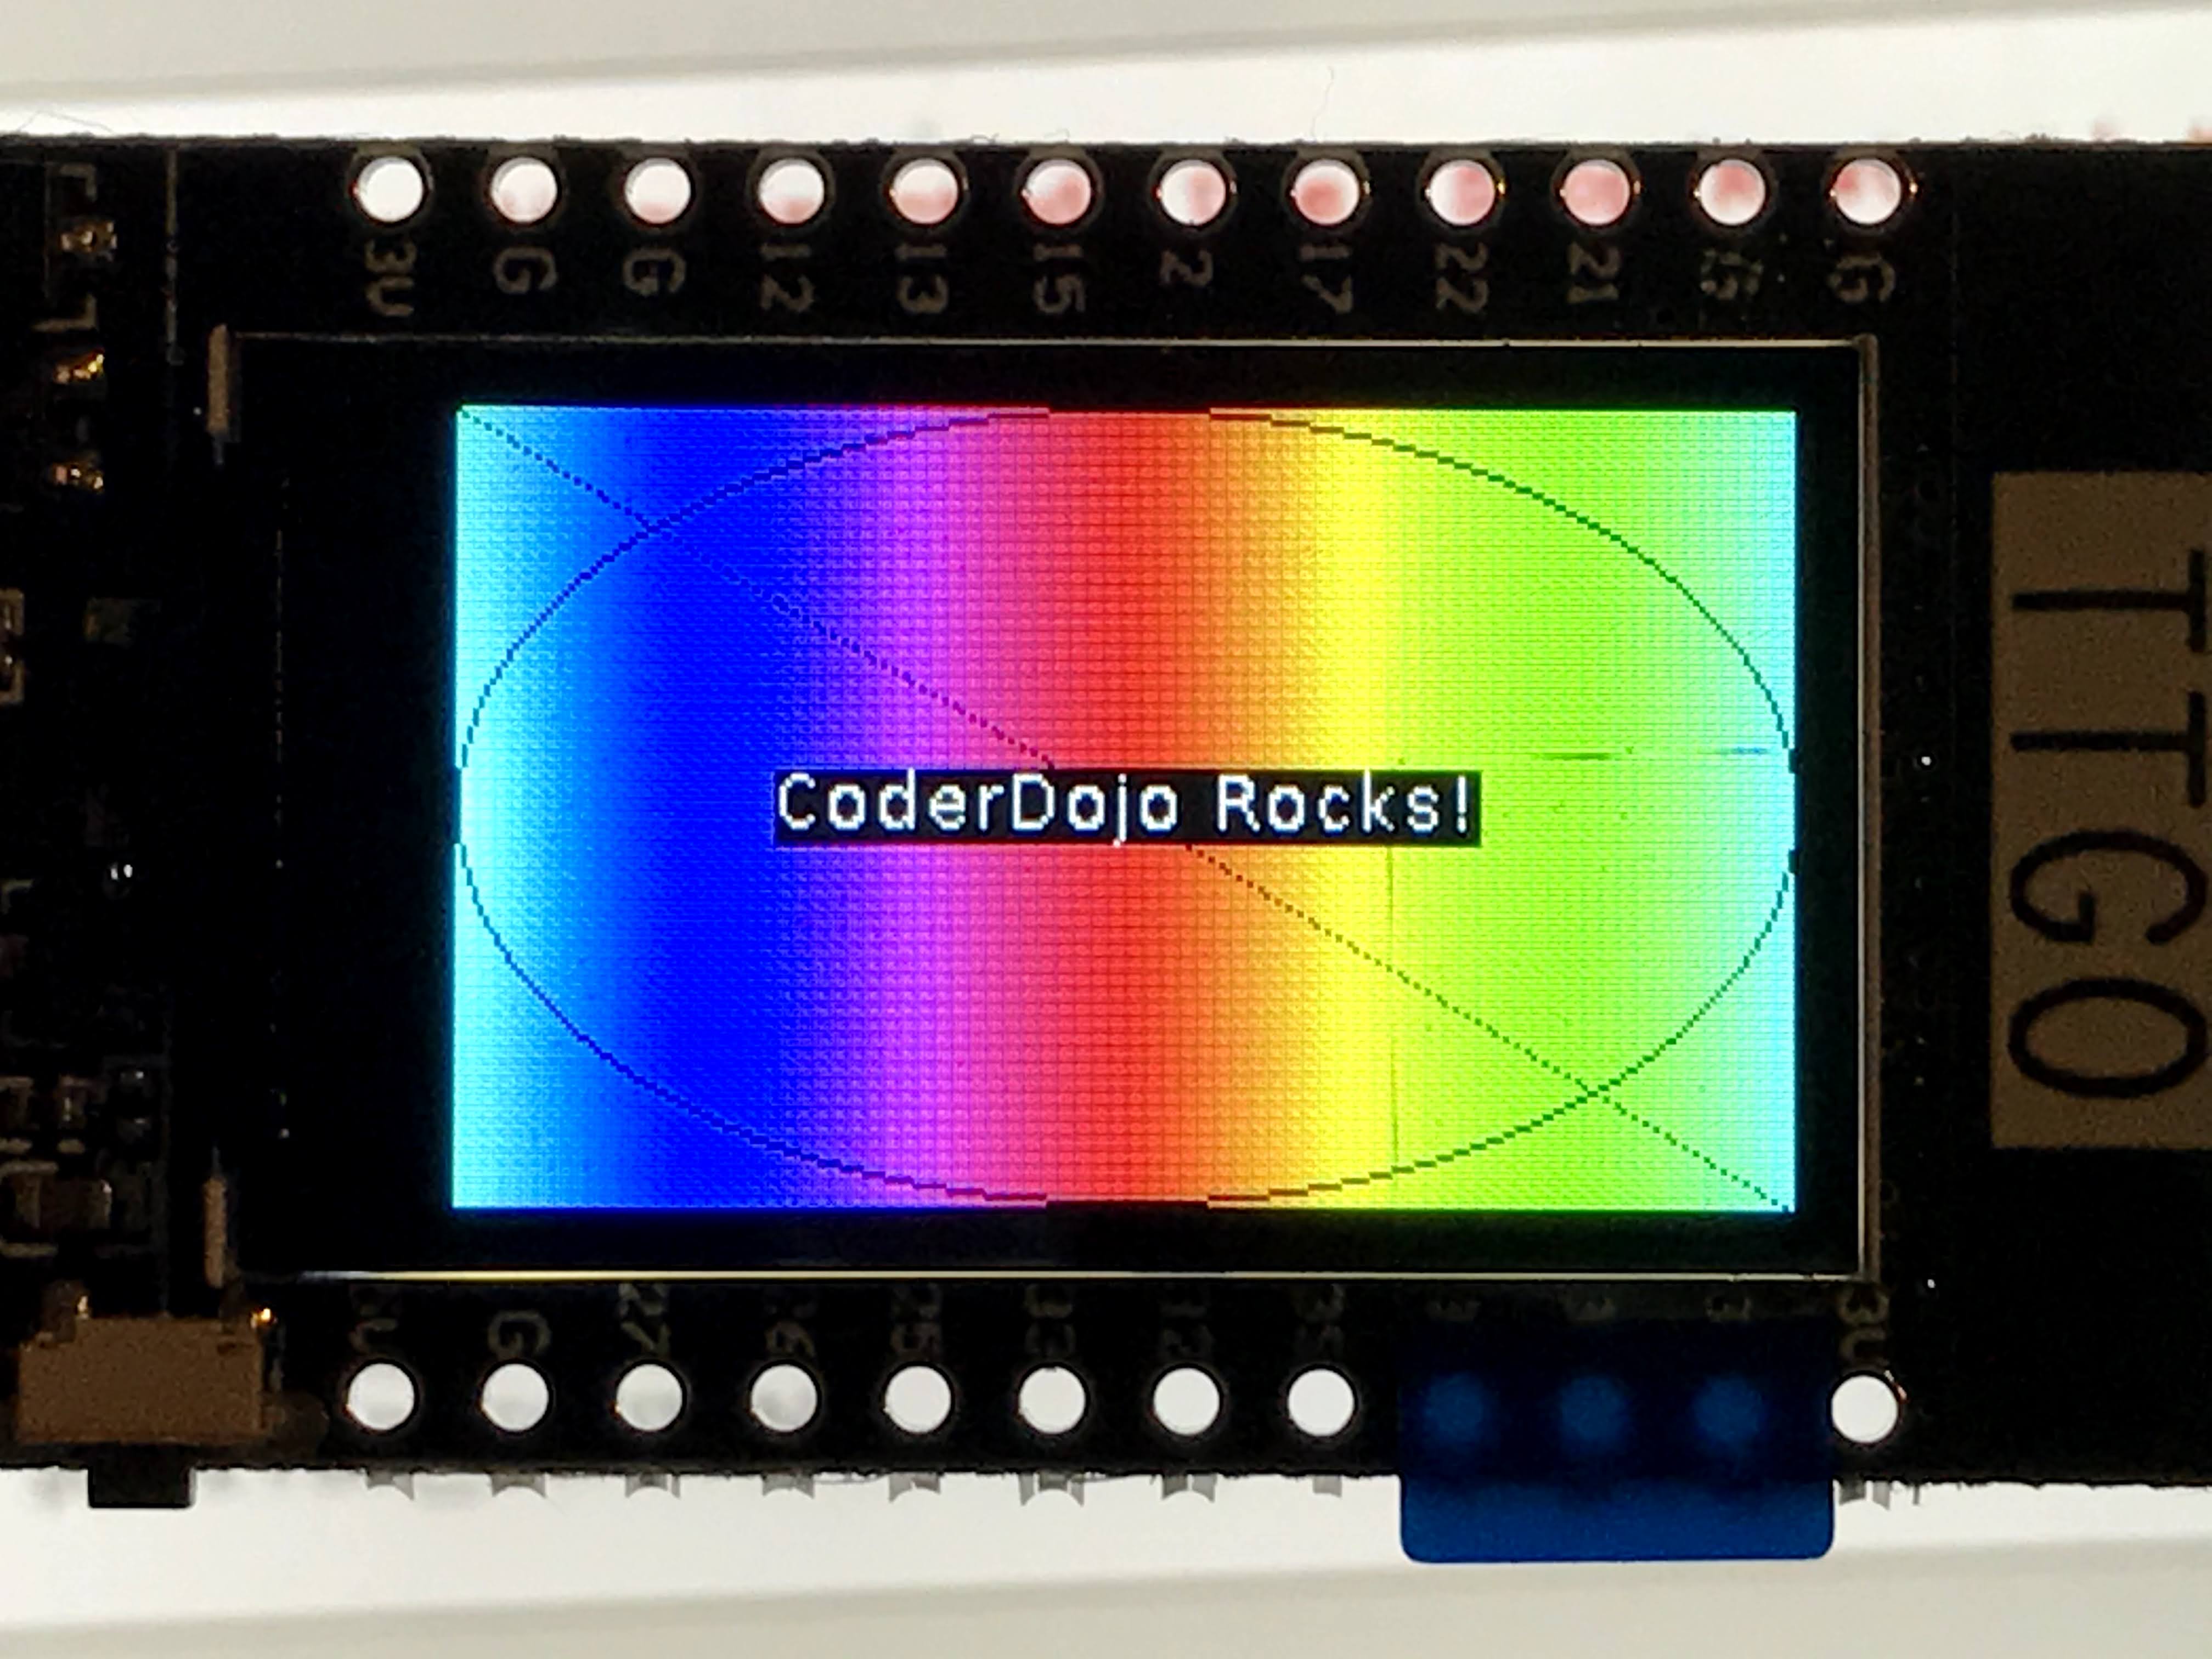
You should see the following on the ESP32 display:
References
https://www.instructables.com/TTGO-color-Display-With-Micropython-TTGO-T-display/